Testing Cloudflare – bypassing cache

Cloudflare is a really amazing tool. By changing your DNS settings to point to CF servers and enabling static caching, your page will be loading much faster, using less server bandwidth and the TTFB (time-to-first-byte) will improve.
In this article, we will find a solution for disabling CloudFlare caching directly from your browser. It’s a handy trick for testing.

Automatic Platform Optimization for WordPress
APO (Automatic Platform Optimization) allows Cloudflare to serve a WP site from its edge network. Edge servers store (cache) content in strategic locations in order to take the load of the origin server.
By moving static assets like images, as well as HTML and JavaScript files as close as possible to the requesting client computer, an edge server cache is able to reduce the amount of time it takes for a web resource to load.
Enabling an API in WordPress can be done in 3 steps: Confirm DNS Records, Change nameservers and activate the Cloudflare WordPress plugin.
cf-cache-status
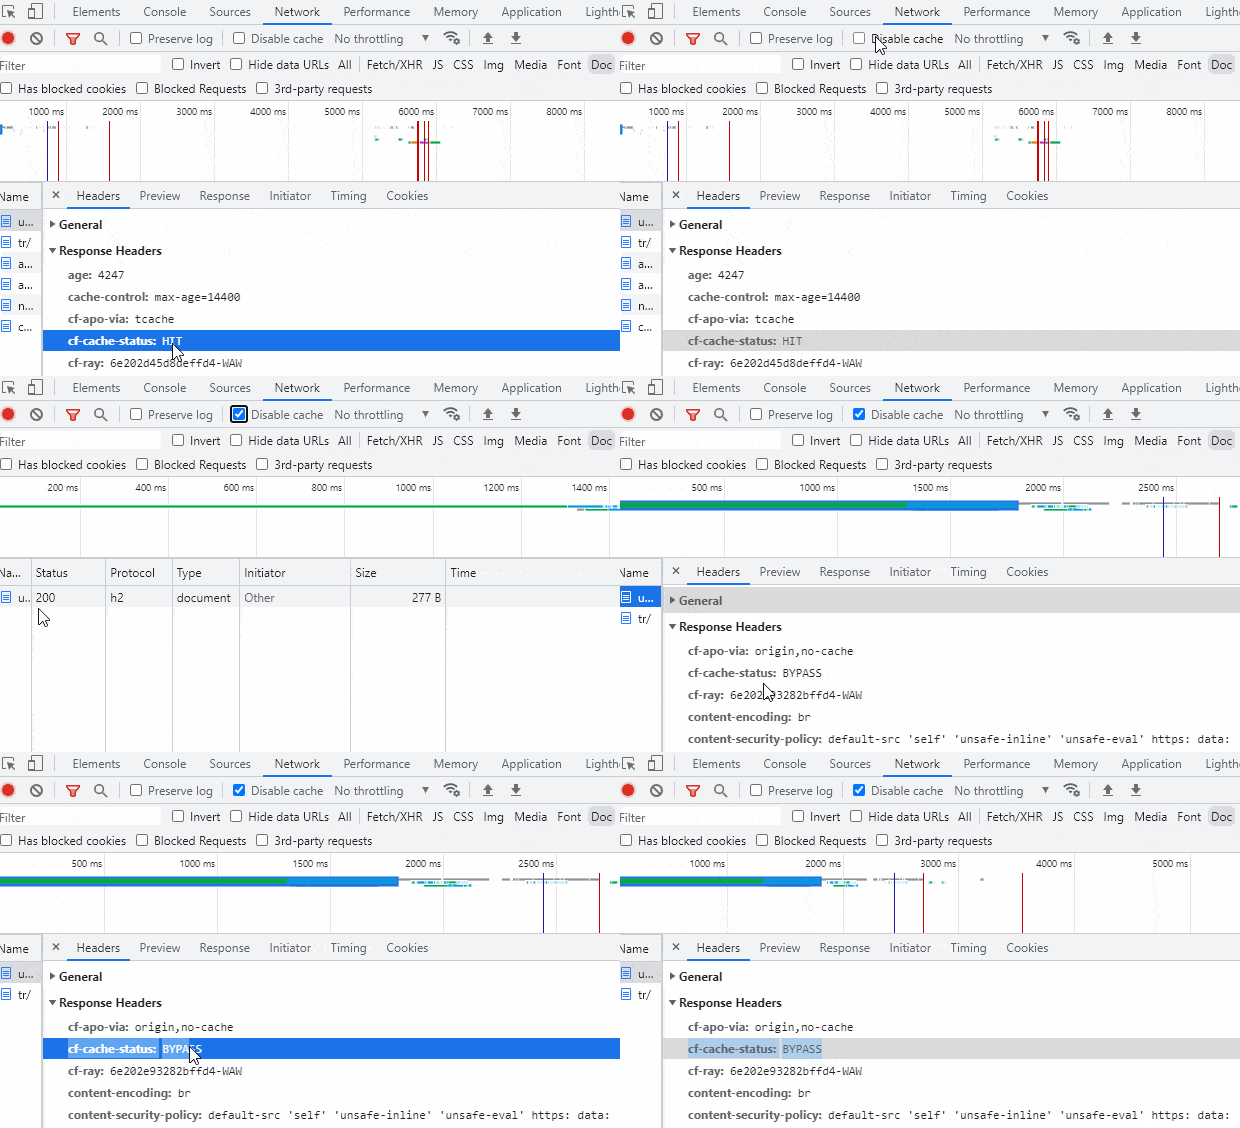
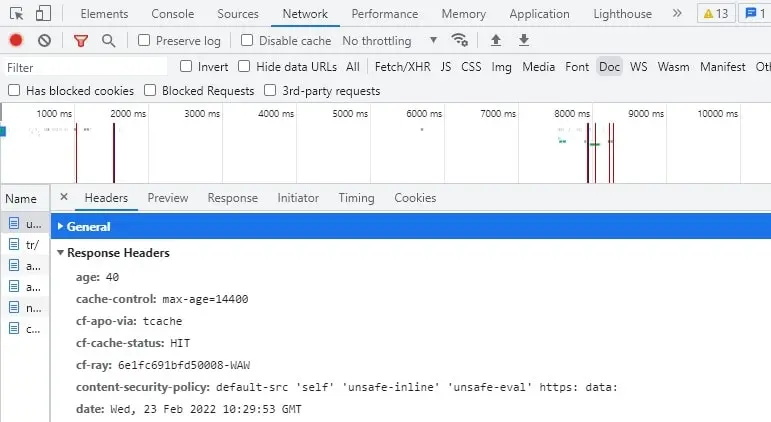
How to know if CloufFlare is working? You can feel that website is loading faster, but to be sure that traffic is handled from CF, we can inspect page Response Headers. Browser Developer Tool / Network – filter ‘Doc’ type – and then Headers Tab.
The parameter cf-cache-status set to HIT means that cache is working and we’re connecting directly to the CloudFlare server to get the HTML of the site.

Dynamic elements caching
When configuring CloudFlare cache, it is important to understand that page contents will be cached as static. All dynamic elements that previously relied on using backend rendering (without Client side javascript rendering) will stop working or will return the old state (example: data from 1 hour ago, instead of live).
We have enabled caching in the CF panel, and we would now like to test our website. Some components are easy to test, we can see immediately that data is outdated and the component should be rewritten to use client-side rendering. However, sometimes we’re not sure how a website should look like (without cache enabled).
Turn off caching
One method to disable caching is to turn it off in the Cloud Flare panel. However, we need to wait for propagation changes and this setting will impact all site visitors. In addition, our browser cache / windows DNS cache can still serve us the old (cached) website version. Not really a comfortable way of testing.
Bypassing CF cache
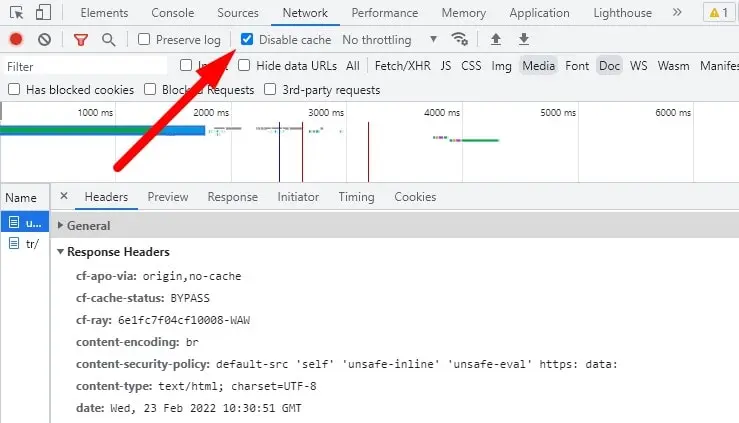
The developer tool (Developer console) in Chrome Browser provides a checkbox for disabling cache. When checked, it ignores cached website versions and getting live HTML from the origin server.
The solution to bypass Cloudflare cache is to check “Disable cache” (Network Tab), keep DevTools open and refresh the page. When Checking Response Headers we’re seeing: cf-cache-status: BYPASS. So, we’re seeing original page contents without static cache.
It’s a really useful trick when testing dynamic components or just testing if CF doesn’t cache too much on our website.

That’s it for today’s guidelines. Make sure to follow us for other useful custom web application tips, and don’t forget to subscribe to our newsletter.
Do you need someone to implement this solution for you? Check out our specialists for hire in the outsourcing page. Are you considering a global project and are uncertain how to proceed?


